
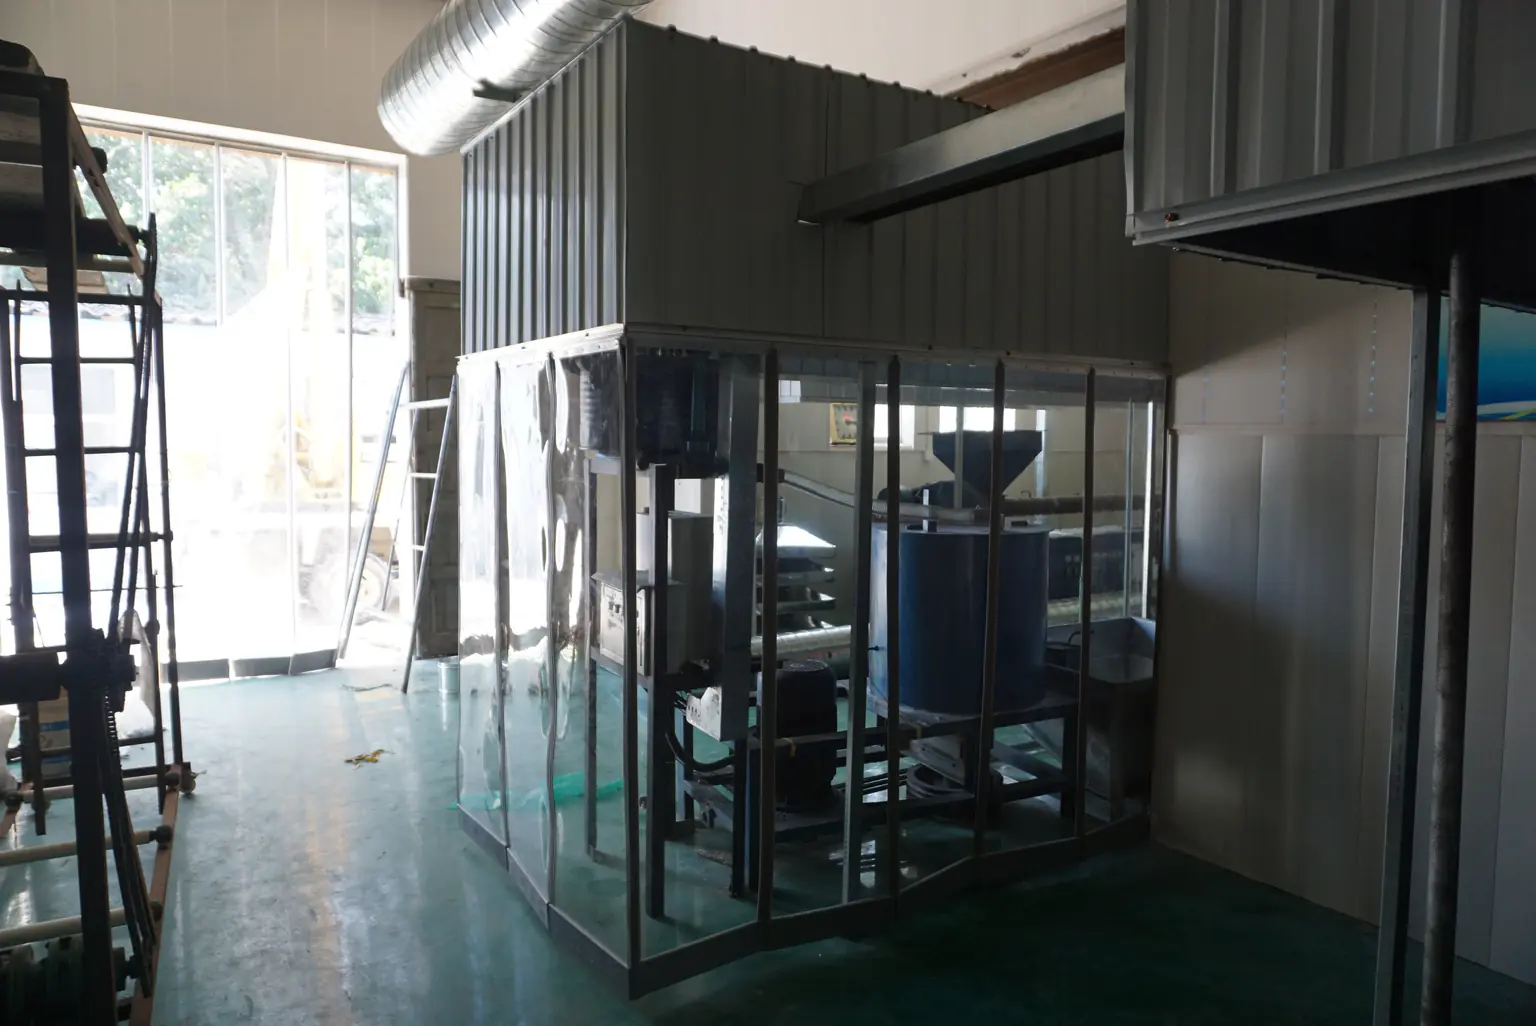
PRODUCT LANDING · MAGNETIC DOORWAY KIT CONTROL
Magnetic Clear PVC Door Curtains Built from the Doorway and Traffic Brief
EverBen develops magnetic flexible-doorway kits from measured openings, traffic direction, panel geometry, closing-edge alignment, mounting interfaces and service access—not from a generic magnetic curtain label.
A useful project file shows the complete doorway, surrounding structure, threshold, traffic pattern, operating temperature range, cleaning route and installation ownership. That context is converted into a controlled panel drawing, magnetic-edge schedule, header and side-fastening plan, trial sequence, spare-parts list and carton allocation. Photographs help explain geometry, but only accepted drawings, samples and scoped records define the released product.
01 · PURCHASING OBJECT
Qualify the Doorway and the Exact Purchasing Object
Start with the physical opening and the scope being purchased. The quotation object can be loose panels, a hardware set, or a complete installed kit, and each choice changes the evidence and responsibility map.
01
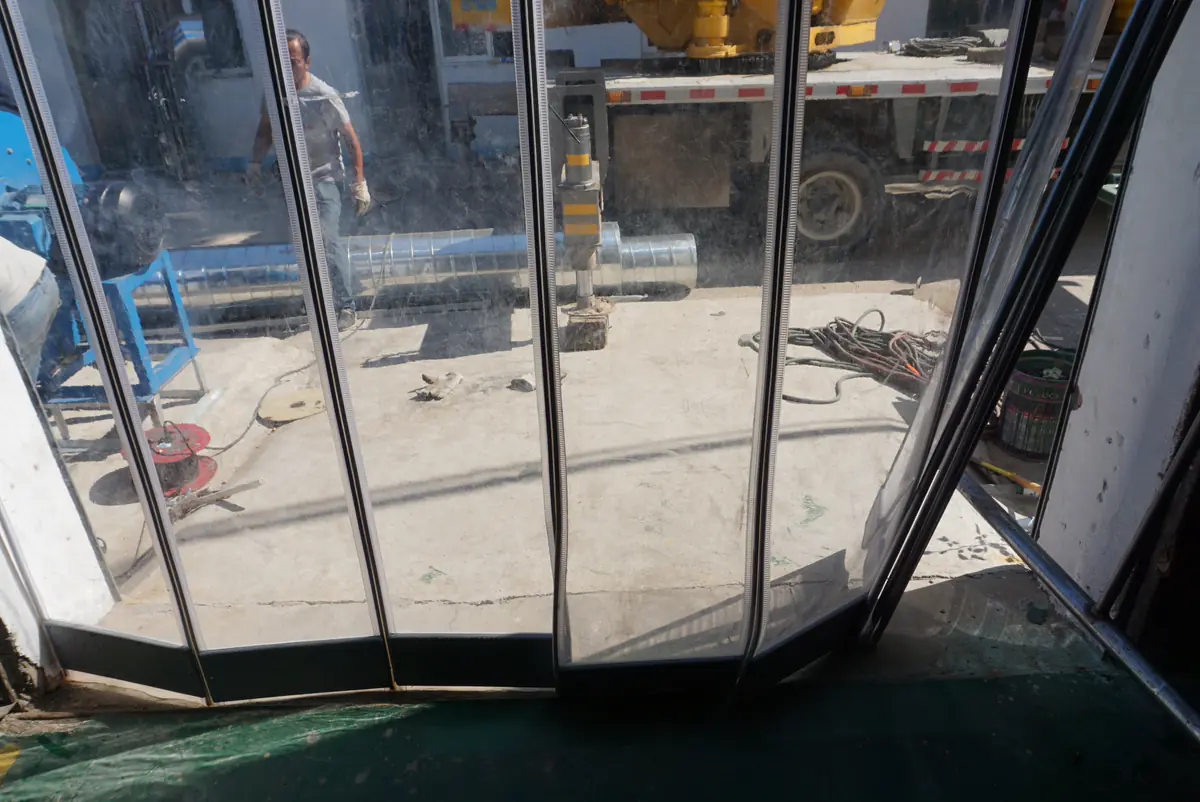
Record structural and clear opening geometry
Measure clear width and height at the top, middle and bottom, then record diagonals, frame depth, wall return and the smallest usable opening. Mark the reference plane for every dimension so the panel drawing and hardware schedule cannot interpret the same number in different ways.
02
Map substrate, threshold, obstructions, and adjacent doors
Identify the header and jamb substrate, threshold shape, floor slope, drain, trim, concealed service restriction and nearby moving door. Add dated photographs from both sides. The supplier should not select an anchor or bottom clearance from a nominal doorway size alone.
03
Separate loose panels, hardware set, and complete installed kit
State whether the buyer needs cut panels only, paired magnetic-edge panels, rail and side parts, a labeled hardware pack, installation instructions or local installation. Keep each included and excluded item visible so a low unit price does not hide an incomplete supply boundary.
04
Assign every unknown to buyer, supplier, installer, or trial
Convert uncertain dimensions, anchor choice, panel behavior and site access into an owner and a closing date. A field can remain open, but it cannot silently become a supplier assumption. Put unresolved conditions into the drawing review, sample gate or representative doorway trial.
02 · APPLICATION AND TRAFFIC
Map Applications, Users, Loads and Passage Peaks
A product label does not establish site suitability. Separate each user group, movement direction and load, then decide what must be witnessed before any architecture or performance statement is accepted.
01
Separate each location and operating case
List production doorway, warehouse aisle, loading area, controlled room, household or animal passage as separate cases. For every location, record the task the curtain is expected to support and any condition that has not been reviewed. Do not transfer one installation observation to another environment.
02
Record pedestrians, carts, trucks, loads and animals separately
Describe body or equipment width, height, protruding loads, handles, wheel track, speed policy and whether hands are available to part the panels. A buyer may evaluate several traffic groups, but each group needs its own clearance and passage observation rather than a shared generic traffic claim.
03
Count representative passage frequency and direction
Observe typical and peak passage periods, one-way or two-way movement, queues and the time available for the opening to clear. Use the record to plan a representative trial; it is not a universal traffic rating and should not be published as one.
04
State excluded and unreviewed use cases
Identify emergency egress, guarding, vehicle control, outdoor exposure and other tasks that remain outside the released product file. The responsible buyer and site professionals determine whether a flexible doorway is permissible; the curtain must not be presented as a substitute for a safety system.
03 · OPERATING ENVELOPE
Define the Conditions the Curtain Will Actually Experience
Temperature is only one site variable. Air movement, pressure, cycling, cleaning, condensation and floor condition interact with geometry and material, so the brief must separate observed conditions from proposed solutions.
01
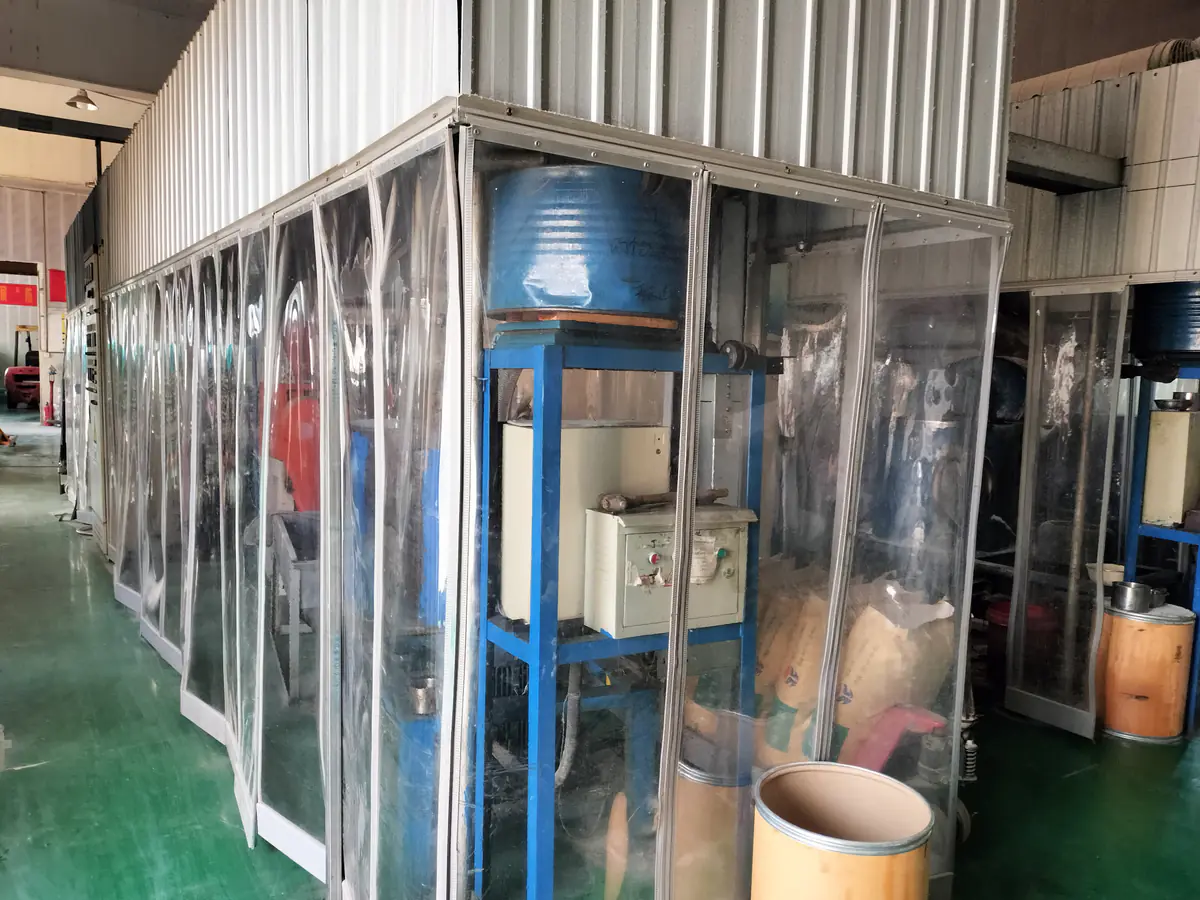
Record normal and exceptional temperature at the doorway
Measure the curtain location rather than relying on a room label. Note normal operation, start-up, cleaning and storage conditions, duration of excursions and which side of the doorway each value represents. Any temperature claim remains conditional on the exact construction and supporting record.
02
Describe airflow, pressure, wind exposure and door cycling
Map air outlets, extraction, pressure direction, nearby exterior openings and adjacent powered doors. Record when these conditions occur together. The data defines what the representative trial must observe; a photograph or product name cannot establish resistance, sealing or recovery performance.
03
Record condensation, wash-down, soil and floor conditions
Describe water, detergent, dust, oil, debris, drain routes and the expected cleaning frequency. Include floor slope and threshold because bottom contact can change passage and closure observations. The buyer should approve a cleaning route on the coded panel and edge sample.
04
Turn every unresolved condition into a sample or site trial
If a supplier cannot support a site condition with applicable evidence, state the uncertainty and define a limited test. Record sample identity, frame, method, observation period and decision owner. A controlled trial closes a question without inventing a broad rating.
04 · ARCHITECTURE
Choose the Doorway Architecture Before Quoting Dimensions
Twin magnetic panels, overlapping strip lanes, a flexible sheet, hinged door and powered door solve different interface problems. Compare the complete architecture instead of treating every flexible doorway as one product.
01
Compare twin-panel magnetic center closure with strip lanes
A twin-panel route uses broad flexible panels that meet at a controlled center edge. Conventional strip curtains instead suspend separate vertical lanes whose pitch and overlap belong in their own specification. Keep geometry, passage behavior, hardware and service parts separate in the RFQ and in replacement records.
02
Compare sheet, screen, hinged and powered alternatives
Review whether the opening needs a fixed screen, side-opening sheet, rigid hinged leaf or powered high-speed system. Consider usable clearance, access control, cleaning, service skill and site responsibility. Do not describe the magnetic option as universally superior to alternatives.
03
Explain when a magnetic curtain should not be selected
Stop the route when the buyer requires a certified barrier, controlled powered movement, a duty outside available evidence, or a site interface that cannot support the proposed hardware. Record the reason and direct the requirement to an architecture with an appropriate evidence pathway.
04
Freeze the chosen architecture before dimension release
Approve one named architecture, front elevation, opening reference and supply boundary before cutting dimensions are released. This prevents suppliers from quoting a different number of panels, a different center relationship or an overlapping-strip substitute under the same generic product description.
05 · FLEXIBLE MATERIAL
Specify the Clear Flexible Material with a Measurement Basis
The buyer should approve a coded physical reference and a declared method. Appearance alone cannot establish grade, thickness, temperature behavior or regulated-use suitability.
01
Request the exact material declaration and sample code
Ask the supplier to identify the proposed flexible material in the project file and assign a sample code. Keep source, grade or formulation claims open until documented. The retained sample and declaration should travel with the drawing revision and later repeat-order comparison.
02
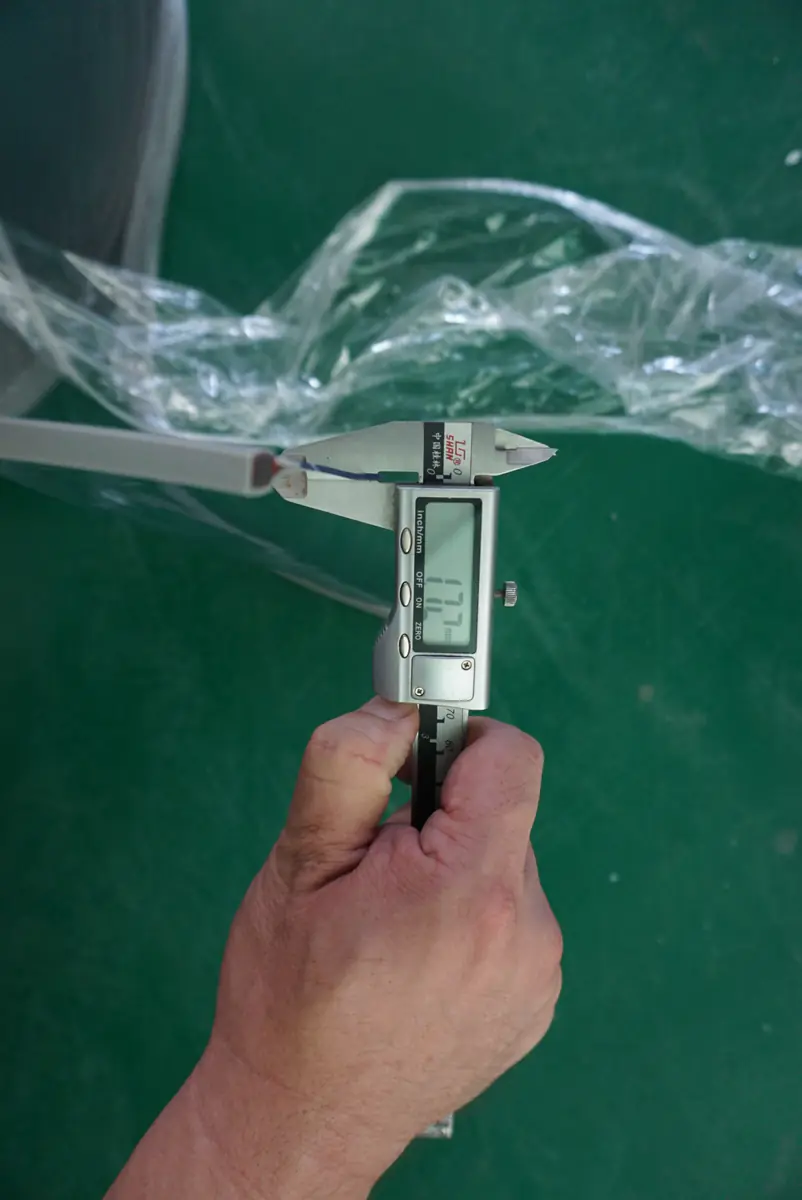
State width, thickness, tolerance and measurement method
Define the requested units, measurement locations, conditioning, instrument and treatment of reinforced edges. Require the supplier to state offered values and tolerances rather than copying an old catalog line. The caliper photograph illustrates a method only, not a universal thickness.
03
Approve clarity, tint, surface, odor and edge condition
Review a complete hanging sample under agreed lighting and record acceptable haze, color, surface marks, optical distortion, odor and edge finish. Use written acceptance notes and a retained reference because camera exposure and screen settings can conceal or exaggerate differences.
04
Require separate evidence for special-use claims
Low-temperature, hygiene, food, fire, chemical or other regulated-use statements require evidence that names the represented material and finished construction. An unsupported statement stays outside the release while the buyer and supplier identify the missing document or test.
06 · MAGNETIC EDGE
Control Carrier Construction, Orientation and Mating Continuity
The center edge is an assembly, not a marketing adjective. Its carrier, magnetic elements, attachment and alignment must be declared and checked as a paired system.
01
Identify carrier material and attachment route
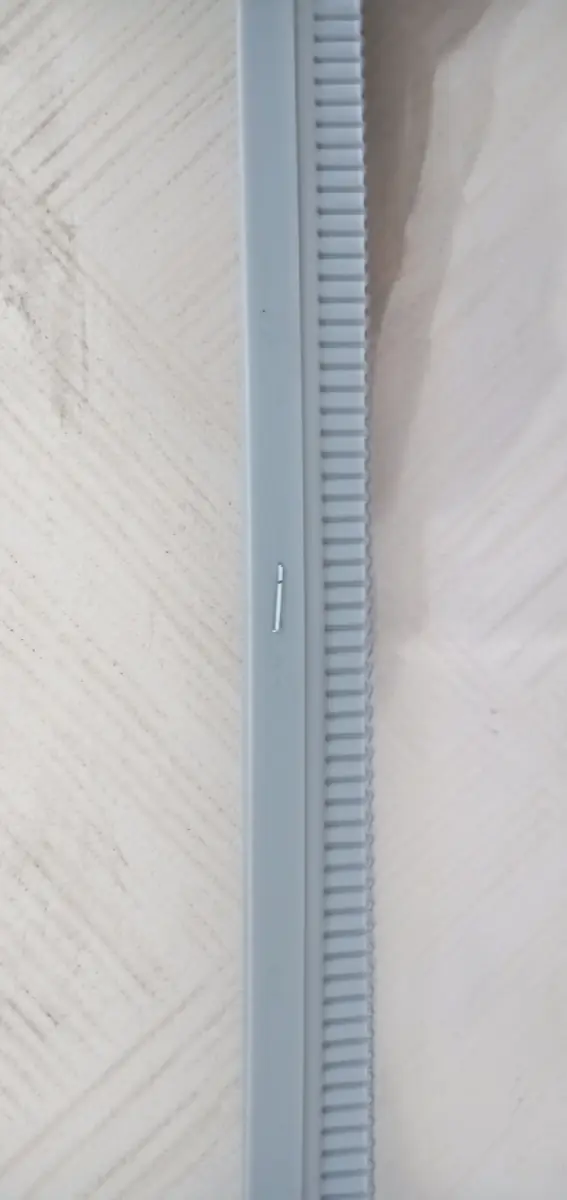
Request a section view or sample showing how the edge carrier relates to the clear panel. State whether the carrier is continuous or segmented and how it is attached. The public photograph supports visible profile review only; the supplier must declare construction details.
02
Declare magnet format, segmentation, pitch and orientation
Ask the supplier to describe the magnetic format, segment arrangement or pitch, polarity control and center-edge continuity for the quoted revision. Do not infer magnetic strength, spacing or opening behavior from a ribbed profile or from an older product image.
03
Define opening-effort and return observations without ratings
Create a repeatable passage observation using the representative frame and declared users. Record where panels separate, how they travel and whether the center edges realign. Keep results tied to that assembly and condition instead of publishing a universal force or closure-speed number.
04
Inspect gaps, twisting and replaceable edge components
Check starting position, full-height center relationship, carrier attachment, local discontinuity, panel twist and lower-edge position. Give every replaceable carrier or panel a part identifier so maintenance can restore the released pair instead of ordering by appearance.
07 · PANEL GEOMETRY
Dimension Panels, Center Mating, Side Coverage and Clearance
A released drawing should show the finished object rather than only the opening. Panel width, drop, center relationship, jamb coverage and floor clearance must share one reference system.
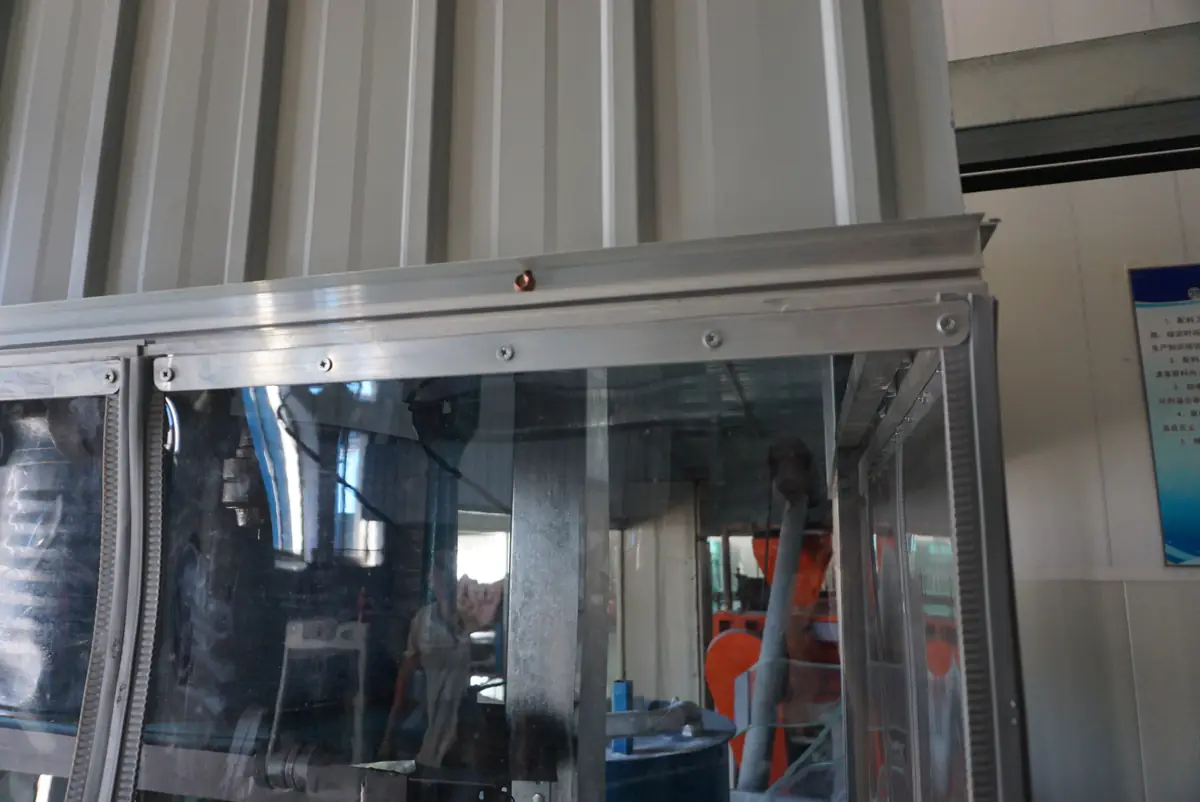
01
Dimension finished panel width and drop
State finished dimensions for each left and right panel, measurement points and tolerance. Record whether dimensions include carriers or reinforced edges. Use the opening survey and intended clear passage to prevent an ambiguous nominal panel size from controlling the order.
02
State center butt, overlap or other mating geometry
Name the intended center relationship and show it in plan and elevation. A visual center line does not prove a particular overlap or force. The drawing should identify which edges mate and how the relationship is checked in the representative frame.
03
Show side coverage, jamb relationship and bottom clearance
Dimension the side edges relative to the frame and any retention parts. Mark threshold, slope and the accepted bottom condition. The buyer should review access, cleaning and replacement clearance from both sides before installation responsibility is released.
04
Declare strip width, pitch and overlap only when strips are offered
If the quotation contains any conventional strip zone, list each strip, hanger position, pitch and overlap separately. Do not borrow strip terminology for broad magnetic panels or combine two architectures in one undocumented line item.
08 · MOUNTING
Engineer Hardware, Substrate Interface and Installation Scope
The kit and the building meet at the rail, header, fasteners and access space. Separate factory parts from site anchors and assign each installation decision to a named party.
01
List rail, header, plates, clamps and fasteners
Create a bill of materials with part identifiers, material or finish declarations, lengths, hole patterns and supplied quantities. Mark excluded anchors and consumables. The kit list should let the buyer reconcile the drawing, packed components and installation sequence.
02
Connect the interface to the actual substrate drawing
Show the fixing line against the measured header or jamb and record permitted edge distances, concealed services and removable trim. The supplier can propose hardware, while the responsible site party approves anchoring for the actual substrate.
03
Assign installer, structural, electrical and site-safety duties
State who surveys, approves anchors, moves equipment, controls the work area, installs panels, checks clearance and signs acceptance. Keep electrical work or sensors outside scope unless explicitly included. A product supply must not imply professional site responsibilities.
04
Define alignment, access and replacement checks
Include rail straightness, panel starting positions, fastener completion, center alignment, bottom clearance and future removal access. Photograph the installed revision and record site modifications so a spare panel or carrier can be matched without reopening every assumption.
09 · SAMPLE AND TRIAL
Approve Samples and a Representative Doorway Trial
Flat swatches and catalog photographs cannot release the complete system. Use coded material and edge samples, a dimensioned drawing and a full hanging trial with declared observations.
Acceptance evidence hierarchy
Release decisions should move from coded sample to drawing, representative hang, witnessed observation and dated approval without skipping an unresolved interface.
Retained reference and witnessed doorway record
Keep the accepted sample, drawing revision, observation sheet, photographs and decision owner linked to the same project identifier for production and repeat-order review.
01
Use coded material and magnetic-edge samples
Label each physical sample with project, material, edge construction, date and revision. The buyer should record what the sample can approve and what remains unresolved. Avoid allowing an unlabeled offcut to become the reference for later production or replacements.
02
Release a dimensioned drawing before cutting
Verify opening references, panel pair, center relationship, side coverage, header parts, bottom condition and excluded work. Record comments and approval status on one revision. Production should not rely on dimensions copied from email fragments or an unmarked photograph.
03
Trial-hang a representative assembly
Use the approved panel and edge construction in a frame that represents the released geometry. Allow the assembly to reach an agreed condition after unpacking, then capture alignment, surface condition, visibility and bottom clearance before passage trials begin.
04
Observe passage, closure, drag, noise and recovery
Run declared user or equipment cases at controlled conditions and record panel contact, separation, travel, center return, floor interaction and audible effects. Results belong to that frame and operating envelope; departures become design questions rather than unsupported claims.
10 · PRODUCTION CONTROL
Control Production Quality and Lot-Linked Evidence
The approved object must be translated into incoming checks, controlled dimensions, paired assembly verification and a record that can support production release and later replenishment.
01
Verify incoming material and carrier identity
Match received panel material, carrier components, magnetic elements and hardware to the approved bill of materials and supplier declarations. Record lot or batch references where available. Quarantine unexplained source, appearance or construction changes for buyer disposition.
02
Inspect cut dimensions, attachment and orientation
Define operations that check panel length and width, reinforced edges, carrier attachment, magnetic orientation and pair identity. Use tools and frequencies appropriate to the control plan. A workshop image provides context but cannot substitute for a declared inspection record.
03
Reconcile finished assembly to drawing and BOM
Select complete paired kits for a drawing and component reconciliation. Confirm labels, left and right identities, rail parts, hardware allocation and visible workmanship. Keep represented functional observations separate from routine dimensional and visual inspection.
04
Define retained sample, lot link and change control
State which material, edge or complete kit reference is retained, for how long and how it links to the shipped lot. Require notice before changing material, carrier, magnet, hardware, source, process or packing so the buyer can decide whether reapproval is needed.
11 · CARE AND PACKING
Plan Cleaning, Service, Packing and Storage by Component
Clear panels, edge carriers and mounting parts have different care and deformation risks. Define what is cleaned, inspected, replaced, packed and reopened before shipment release.
01
Validate cleaning agent and method on the exact material
Record cleaner identity, dilution, temperature, tool, contact time, rinse and drying route. Check the coded panel, edge carrier and visible hardware for unacceptable appearance or function changes. Site hygiene requirements remain a buyer decision backed by appropriate evidence.
02
Define inspection points and replacement parts
List tears, sharp damage, loose attachment, carrier separation, missing magnetic segments, center misalignment, haze and floor contact as observable conditions. Assign part codes to panels, carriers, rail pieces and hardware so service does not depend on a generic product name.
03
Trial coil or lay-flat packing and reopening condition
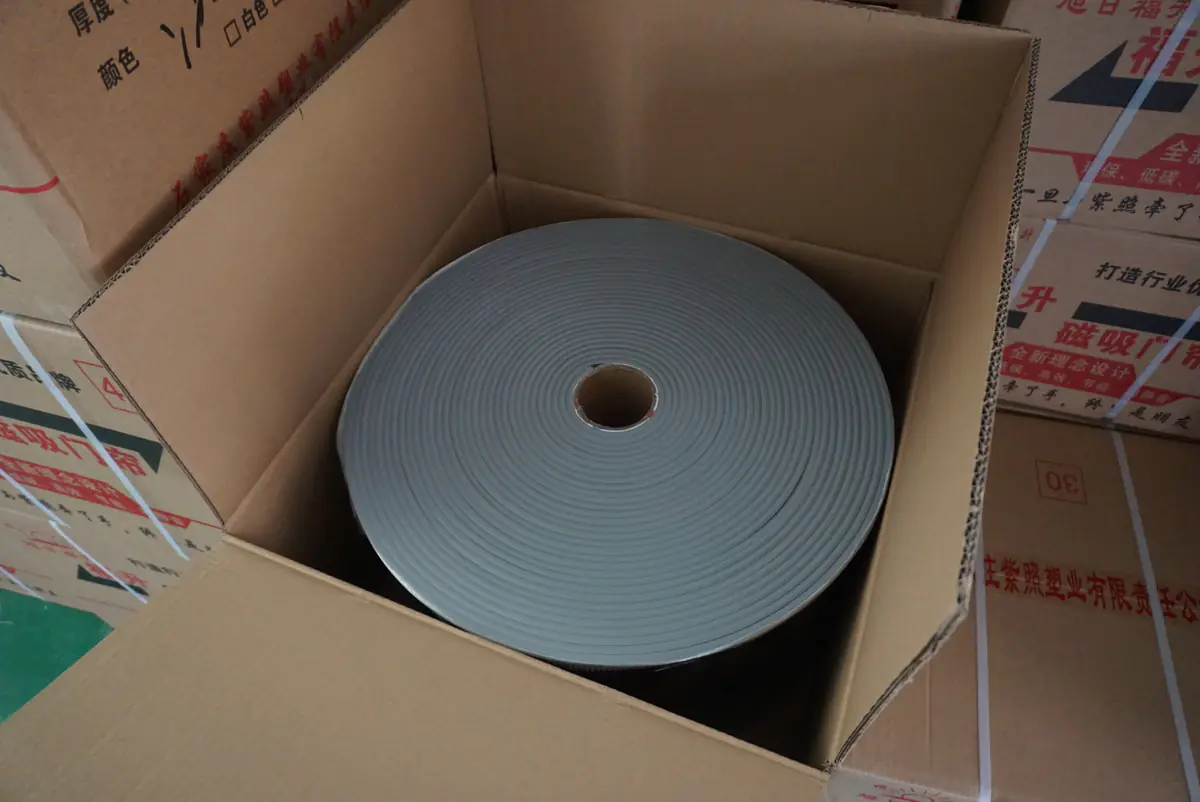
Pack a representative kit using the proposed separators, coil diameter or lay-flat arrangement, hardware protection and panel labels. Reopen it after the declared interval and record surface condition, edge position and the preparation needed before installation.
04
State storage orientation, stacking and repeat-order risks
Define dry storage, stacking limits proposed by the supplier, protection from sharp loads and separation of magnetic edges. Keep the installed revision, component identifiers and retained references available so a later order can be compared before substitution is accepted.
12 · COMPARABLE RFQ
Issue a Comparable RFQ and Evidence Schedule
One revision-controlled brief should separate buyer requirements, supplier proposals, deviations, open questions and approval gates. Commercial terms remain blank or marked TBC until the represented scope is documented.
| Entity | Attribute | Value or option | Buyer impact | Evidence or approval |
|---|---|---|---|---|
| Doorway | Clear width, clear height, frame, threshold, obstructions | Buyer measured / open | Controls finished geometry and mountable area | Dated dimensioned site sheet |
| Environment | Normal and exception temperature, airflow, pressure, wash-down | Buyer observed / supplier proposed | Controls material and trial route | Site record plus conditional sample evidence |
| Traffic | User, equipment, direction, frequency and load | Buyer observed | Controls passage trial and architecture choice | Traffic map and representative trial |
| Material | Declaration, code, dimensions, tolerance, appearance | Supplier proposed / buyer approved | Controls view, care and repeat orders | Coded retained sample and declaration |
| Magnetic edge | Carrier, format, pitch, orientation, attachment, continuity | Supplier declared | Controls mating, maintenance and spares | Section drawing, sample and inspection record |
| Panel geometry | Finished width and drop, center mating, side coverage, clearance | Drawing controlled | Controls gaps, floor interaction and fit | Released drawing and trial hang |
| Hardware | Rail, plates, clamps, fasteners, anchors, substrate | Included / excluded / proposed | Controls installability and scope comparison | BOM, interface drawing and installer approval |
| Sample gate | Material, edge, drawing, trial hang, pack opening | Required / proposed / approved | Prevents photo-only release | Signed or dated gate record |
| QC and lot | Identity, dimensions, assembly, alignment, retained sample | Inspection-plan controlled | Supports production and replenishment control | Lot-linked inspection record |
| Commercial handoff | Quantity, destination, packing, spares, terms | Documented or TBC | Supports comparable bids | Supplier quotation and departure list |
01
List dimensions, duty, environment, quantity and destination
Provide the approved opening revision, traffic map, operating-envelope record, supply boundary, required quantity, destination and packaging constraints. Keep each opening or application separate when conditions differ so suppliers price the same defined object.
02
Separate requirements, proposals, deviations and questions
Use distinct columns for buyer-required fields, supplier-offered values, alternative proposals, excluded items and unresolved questions. Require an explicit departure list. This makes differences visible without treating a proposed value as an accepted specification.
03
Freeze sample, drawing, production and shipment gates
State which coded sample, drawing, trial, inspection plan, pack-opening check and shipment record needs approval and by whom. Link each gate to a revision and due point. Do not allow schedule pressure to convert an open technical issue into silent acceptance.
04
Keep commercial and compliance fields evidence-led
Request MOQ, lead time, price, warranty, Incoterm and destination requirements from the supplier quotation. Ask for claim-specific documentation when compliance is required. The page does not publish those values because they depend on the accepted project and current evidence.
Evidence boundary for this page
This doorway-kit page keeps each statement tied to the surveyed opening, traffic route, magnetic center closure, mounting substrate, threshold, installation owner and represented passage check. Commercial terms and any site outcome are confirmed for the accepted project revision.
Buyer FAQ
Questions to Close Before a Magnetic Doorway Kit Release
What is the purchasing difference between a twin-panel magnetic center-closing curtain and overlapping PVC strip lanes?
Twin magnetic panels use broad paired panels with a controlled center edge, while conventional strip curtains use multiple suspended lanes with declared pitch and overlap. Compare their geometry, hardware, passage trial and replacement parts as separate architectures.
Which doorway dimensions and substrate photos are required before a magnetic curtain quotation?
Provide multi-point clear width and height, diagonals, frame depth, fixing zone, threshold, floor slope, adjacent equipment and complete photographs from both sides. Mark the reference plane and any drilling restrictions.
Can pedestrians, carts, pallet trucks, forklifts and animals use the same configuration?
Do not assume one configuration suits every user. Record each body or equipment envelope, direction, frequency, carried load and site control, then define representative passage observations and any excluded case.
How should low-temperature suitability be verified for the exact panel and magnetic edge assembly?
Record the doorway temperature range and duration, identify the proposed panel and edge construction, and request applicable evidence or a controlled sample and doorway trial. Do not borrow a rating from unrelated strip stock.
How do airflow, pressure difference, outdoor wind and high cycling affect the selection and trial?
These conditions can interact with panel geometry, alignment and movement. Map when they occur, then include them in a representative observation plan without converting one trial into a universal wind, pressure or closure rating.
Which parts are replaceable and what identifiers should they retain?
Identify left and right panels, edge carriers, magnetic sections, rail pieces and hardware packs. Keep the installed drawing revision, part code, material sample and relevant inspection record with every spare.
How should the material be cleaned, stored, reopened after packing and inspected?
Approve a construction-specific cleaning method, observable damage and appearance limits, storage orientation, separators and a pack-opening trial. Record haze, distortion, attachment condition, center alignment and bottom contact.
Which evidence is needed before stating an energy, pest-control, hygiene, safety or compliance benefit?
Each statement needs evidence that names the represented construction, test or observation method, conditions and decision scope. If that link is missing, keep the claim outside the released product file.
Controlled next step
Turn the Opening into One Installable, Replaceable Kit File
Send the doorway survey, traffic pattern, panel preference, environment, mounting substrate, cleaning route, quantity, destination and evidence questions. We will expose unresolved interfaces before quotation. Include the smallest verified opening, threshold condition, fixing restrictions, representative user or cart dimensions, required bottom clearance, preferred center position, drawing language, sample quantity, spare-panel logic and carton allocation. For a replacement project, add complete front and side photographs, installed hardware dimensions, left and right panel codes, damage history and any site modification. We will return open questions as a controlled departure list so the buyer can distinguish confirmed construction, proposed alternatives, site responsibilities and evidence still required before quotation or sample release. Commercial timing, minimum order and destination compliance remain project-specific until that scope is accepted.