
BUYING GUIDE · DOORWAY CLOSURE AND INSTALLATION
How to Compare Magnetic Clear PVC Door Curtains without Guessing from a Catalog Photo
Published by EverBen
A reliable comparison begins with the measured opening and passage cycle, then follows the complete panel, magnetic center edge, mounting system, representative trial, service route and supplier departures.
This guide helps importers and facility buyers distinguish architectures, read material and evidence scope, diagnose center-edge gaps, plan installation and preserve replacement data. It does not promise air sealing, energy savings, pest control, hygiene outcomes, safety-barrier performance or destination compliance.
01 · SITE DIAGNOSIS
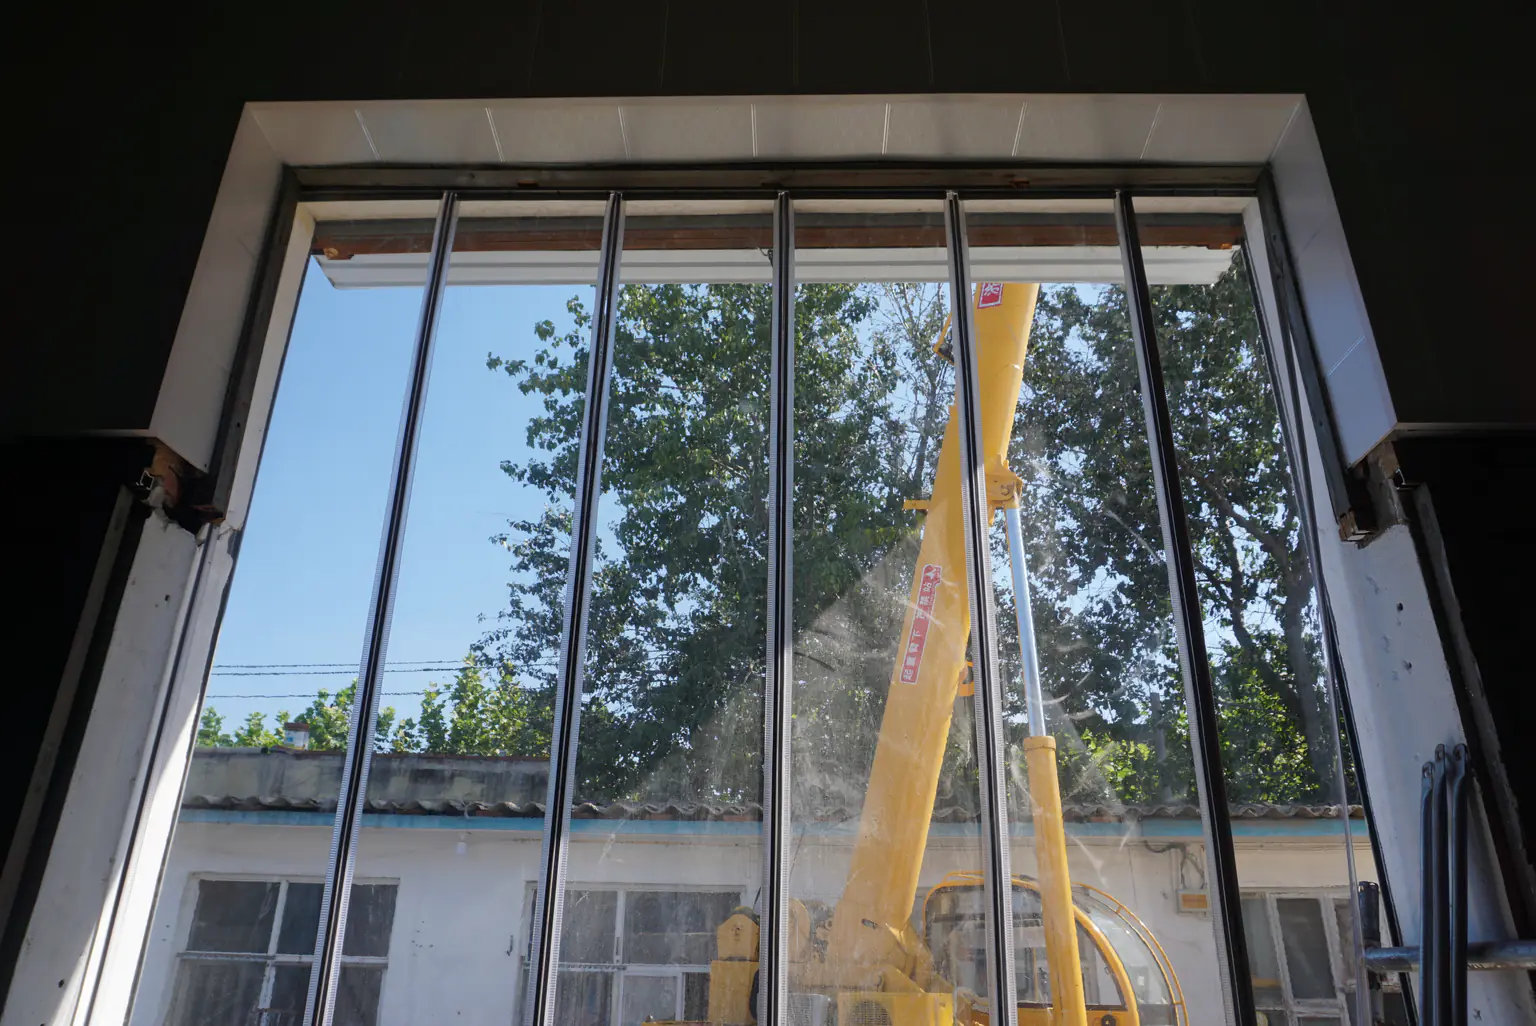
Measure the Opening and Diagnose Both Sides of the Site
Begin with a two-sided site record. The same opening can present different fixing, airflow, access and traffic conditions on each face, and those differences often explain later fit or closure problems.
01
Create one dimensioned opening record
Measure width and height at several points, diagonals, frame depth and the usable fixing zone. Mark the reference plane and smallest clear opening. Add threshold and floor information so later gap or drag observations can be compared to the released drawing.
02
Photograph both faces and the approach path
Capture full opening, header, jambs, threshold, adjacent doors, air outlets, equipment and the normal approach from each direction. The photographs should support diagnosis, while dated measurements and approved drawings remain the controlling geometry.
03
Separate observed facts from assumptions
Label site facts, buyer requirements, supplier proposals and unanswered questions in different fields. If substrate, anchor, concealed service or environment information is uncertain, assign an owner and test instead of allowing the quotation to silently choose.
04
Build a failure-location map before solutions
If an existing curtain has a gap, drag, twist or mounting problem, mark where and when it occurs. Record direction, traffic event and environmental condition. The map helps distinguish geometry, material, carrier and installation causes before replacement parts are selected.
02 · ARCHITECTURE TREE
Use a Decision Tree before Selecting a Flexible Doorway
Choose the architecture by required interface and evidence, not by product-name familiarity. The decision should explain why a magnetic twin-panel system remains under consideration and when another route is more defensible.
01
Begin with the function of the opening
Define whether the project needs passage separation, visibility, access control, guarding, a powered cycle or another function. A flexible magnetic doorway should leave the decision tree when the required function belongs to a regulated barrier or powered door system.
02
Compare twin magnetic panels and strip lanes
Use broad paired-panel geometry and center-edge records for the magnetic route. Use strip count, pitch, overlap and hanger details for conventional lanes. Keep tests and replacement logic separate because similar clear material does not make the two systems equivalent.
03
Check sheet, screen and hinged alternatives
A side-opening flexible sheet, fixed screen or hinged leaf may solve a different access problem with simpler service. Compare usable clearance, opening method, cleaning and site ownership before narrowing the supplier list.
04
Escalate powered or high-control requirements
If cycle speed, automated access, guarding or controlled interlock is essential, direct the project to an architecture designed and evidenced for that task. Do not stretch a manually parted flexible curtain into an unsupported powered or safety role.
03 · CONDITION INTERACTION
Model Traffic, Temperature, Air Movement and Cycling Together
A single variable rarely explains doorway behavior. Build a condition matrix that shows which traffic case coincides with temperature, pressure direction, nearby doors, cleaning and peak cycling.
01
Map users and loads to time periods
List pedestrian, cart, powered equipment, carried load and animal cases separately, then identify peak periods and travel direction. Record the smallest required clear passage and any site control that remains outside the curtain supplier’s responsibility.
02
Place temperature at the actual curtain line
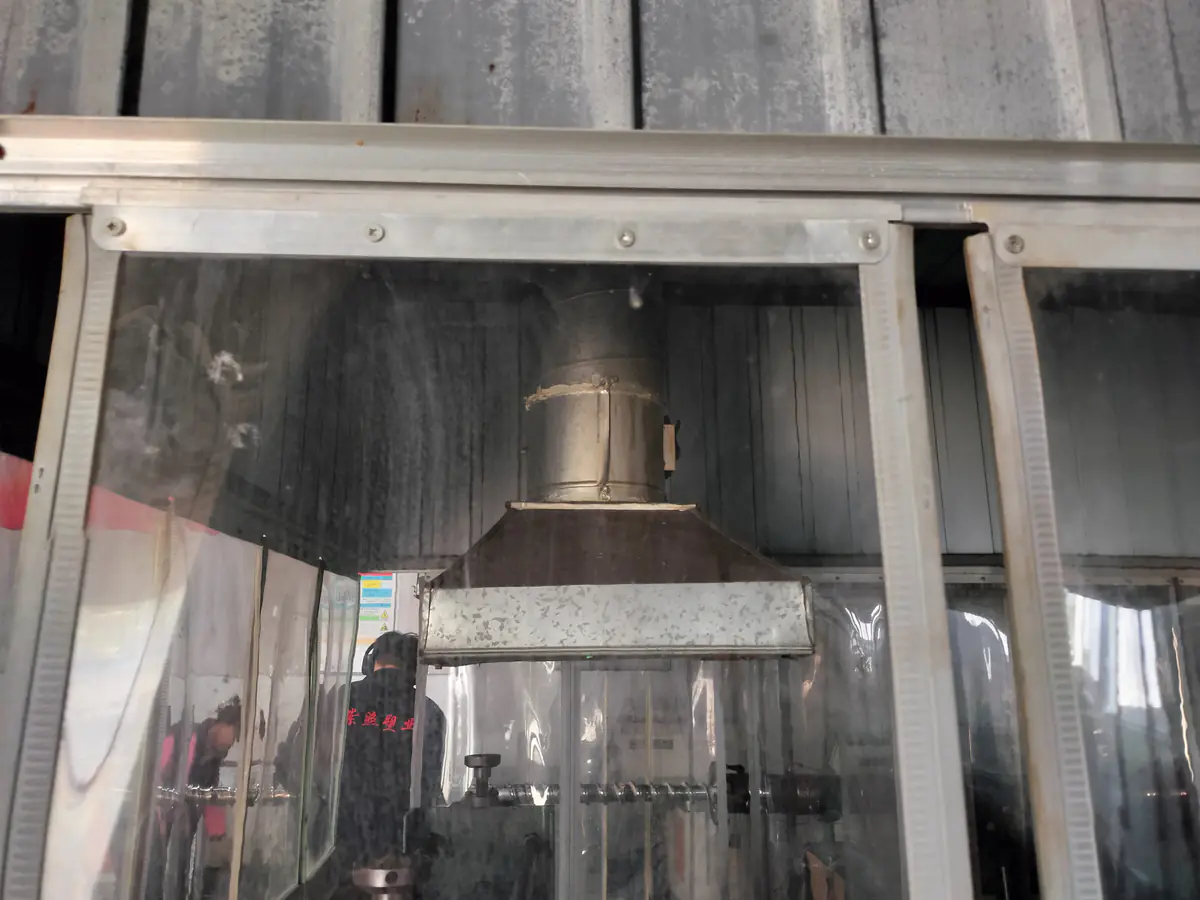
Record normal and exceptional values on both sides, their duration and the state of adjacent doors or equipment. Use those observations to ask for construction-specific evidence rather than accepting a room label as a product rating.
03
Add airflow and pressure direction to the matrix
Note air outlets, extraction, exterior exposure and pressure direction during normal and unusual events. Observe whether a condition coincides with a center gap or slow return. The record supports diagnosis but does not create a universal resistance claim.
04
Plan a representative combined-condition trial
Select the traffic case and environmental condition that best represents the buyer’s decision. Define frame, sample, observation period and acceptance fields. Keep untested combinations open instead of extrapolating from a convenient indoor demonstration.
04 · GEOMETRY REVIEW
Compare Panel Width, Center Mating, Side Coverage and Clearance
Normalize supplier drawings by the finished assembly. The guide should help a buyer detect different interpretations of the same opening before they become installation gaps or floor contact.
01
Align drawing reference planes
Require each drawing to state whether dimensions reference clear opening, frame face, rail, panel edge or carrier. A shared opening number is not comparable when suppliers measure from different planes or include reinforcement differently.
02
Compare left and right finished-panel dimensions
Place panel width and drop, tolerance method, center position and lower finish side by side. Confirm whether carriers are included. Unequal panel interpretation can create a center offset even when the total nominal width looks correct.
03
Compare center mating and jamb relationships
Ask suppliers to name butt, overlap or another mating geometry and show side coverage and retention. Review how the panel pair sits in the actual frame without assuming a generic overlap or magnetic pitch.
04
Review bottom clearance with the threshold profile
Overlay the drawing with threshold, ramp, drain and floor slope. Check the intended bottom condition along the entire travel zone. A single center measurement can miss drag or excessive clearance near an uneven edge.
05 · SYMPTOM ANALYSIS
Diagnose Gaps, Misalignment, Drag, Twist, Haze and Slow Return
Treat each symptom as a system observation. Record location, timing and configuration first, then test geometry, material, edge carrier and installation hypotheses in a controlled order.
01
Investigate a center gap from the frame outward
Check rail level, panel starting positions, left and right dimensions, carrier attachment and full-height center relationship before asking for stronger magnets. Mark whether the gap is constant, localized or condition-dependent.
02
Trace floor drag to geometry and conditioning
Review threshold profile, floor slope, panel drop, unpacking condition and installation reference. Record whether drag changes across the opening or after settling. Do not solve a measurement error with an undocumented material change.
03
Separate panel twist from carrier or mounting causes
Observe the panel free-hanging condition, edge straightness, attachment line and top support. Compare left and right parts. A localized twist can have different causes from a full-panel skew, and the corrective action should preserve the approved architecture.
04
Document haze, stiffness and slow return at scope
Record material code, age, cleaning history, temperature, surface condition and the exact passage case. Use the information to request applicable evidence or a replacement investigation without turning one field observation into a broad service-life conclusion.
06 · INSTALLATION AUDIT
Audit Header, Rail, Substrate, Fastener and Installer Responsibilities
A supplier quotation can include a complete kit while leaving site anchoring and acceptance work outside scope. Audit every interface and responsibility before comparing installed cost.
01
Reconcile the header and rail schedule
Match rail length, hole pattern, panel attachments, splices and access space to the released drawing. Review whether the site can install and later remove each component without obstructing nearby equipment or trim.
02
Verify substrate and anchor ownership
Identify the actual substrate, concealed-service restrictions and permitted fixing locations. Separate supplied fasteners from site anchors. The responsible site party should approve anchoring rather than relying on a generic screw in the kit.
03
Review sequence, protection and work-area control
State who isolates the area, protects clear faces, aligns the rail, hangs panels and verifies clearance. Include handling of magnetic edges and temporary supports. Keep electrical, structural and safety duties explicit where they remain outside supply.
04
Capture as-installed changes for service
Record final rail position, panel codes, carrier orientation, fasteners, site modifications and acceptance observations. The installed file supports spare-part selection and prevents a future technician from rebuilding the geometry from memory.
07 · ACCEPTANCE TEST
Design a Sample, Trial-Hang and Site-Acceptance Test
Acceptance should use declared samples, observations and owners. Avoid broad pass language; define what is seen, measured or reconciled for the represented assembly and site condition.
Site-acceptance evidence order
The buyer can review sample identity, drawing, pre-passage hanging condition, witnessed movement observations and final departure disposition in sequence.
Witnessed observation and final release record
The final record should identify the exact assembly, site condition, observers, unresolved items and approved decision scope without expanding a local observation into a universal claim.
01
Approve material and edge samples separately
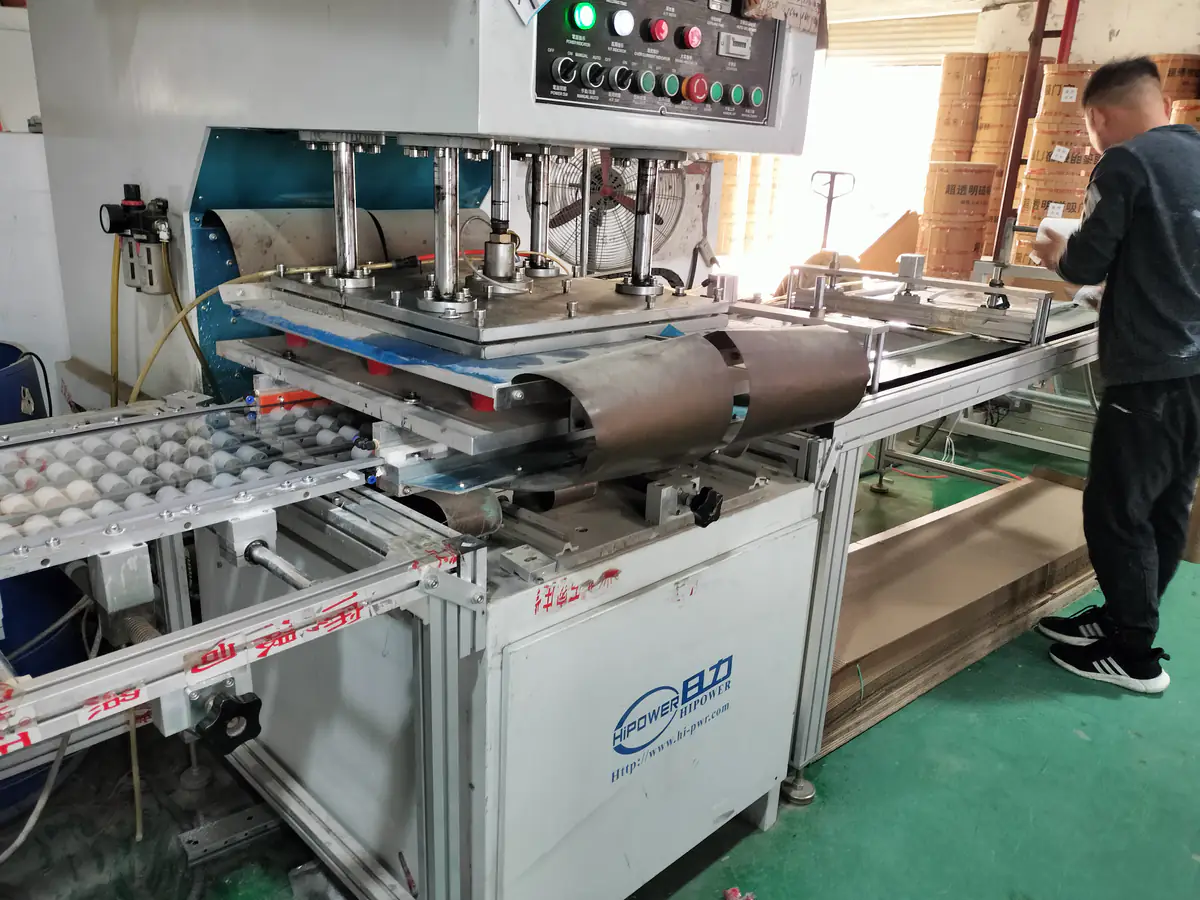
Use project codes for the clear material and edge assembly, then record which appearance, measurement and construction questions each sample can close. Keep unrepresented full-height behavior for the trial-hang stage.
02
Witness the complete trial-hang condition
Confirm frame revision, panel pair, header, side relationship, bottom clearance and time after unpacking. Photograph the full assembly before passage so later movement observations can be traced to a documented starting condition.
03
Run declared passage and recovery observations
Use the selected pedestrian or equipment cases and record separation point, panel travel, center return, visibility, floor interaction and unusual noise. Keep results tied to the exact sample and combined-condition record.
04
Close departures with a dated decision
List every deviation from drawing, sample, kit scope or observation criterion. Assign disposition, owner and whether reapproval is required. Production or repeat order should reference the accepted revision rather than an informal site photograph.
08 · SERVICE COMPARISON
Estimate Service Work, Spares and Pack Recovery without Lifespan Claims
Compare the work and records needed to keep the exact installed revision usable. Service planning can be quantified without inventing a universal lifespan or maintenance interval.
01
Map cleaning steps and access constraints
List cleaner, method, drying, work-area control and access to both panel faces, rail and carriers. Ask suppliers to identify incompatible care routes for the proposed construction and to provide a sample for buyer validation.
02
List inspection tasks by component
Separate panel surface and edges, carrier attachment, magnetic continuity, alignment, rail and fasteners. Estimate labor and access for each observation. The buyer sets frequency from site conditions and accepted risk controls.
03
Compare spare units and identification quality
Price left and right panels, carrier sections, rail pieces and hardware packs with part codes and revision references. A lower spare price is not useful when the replacement cannot be matched to the installed drawing.
04
Include pack opening and storage recovery work
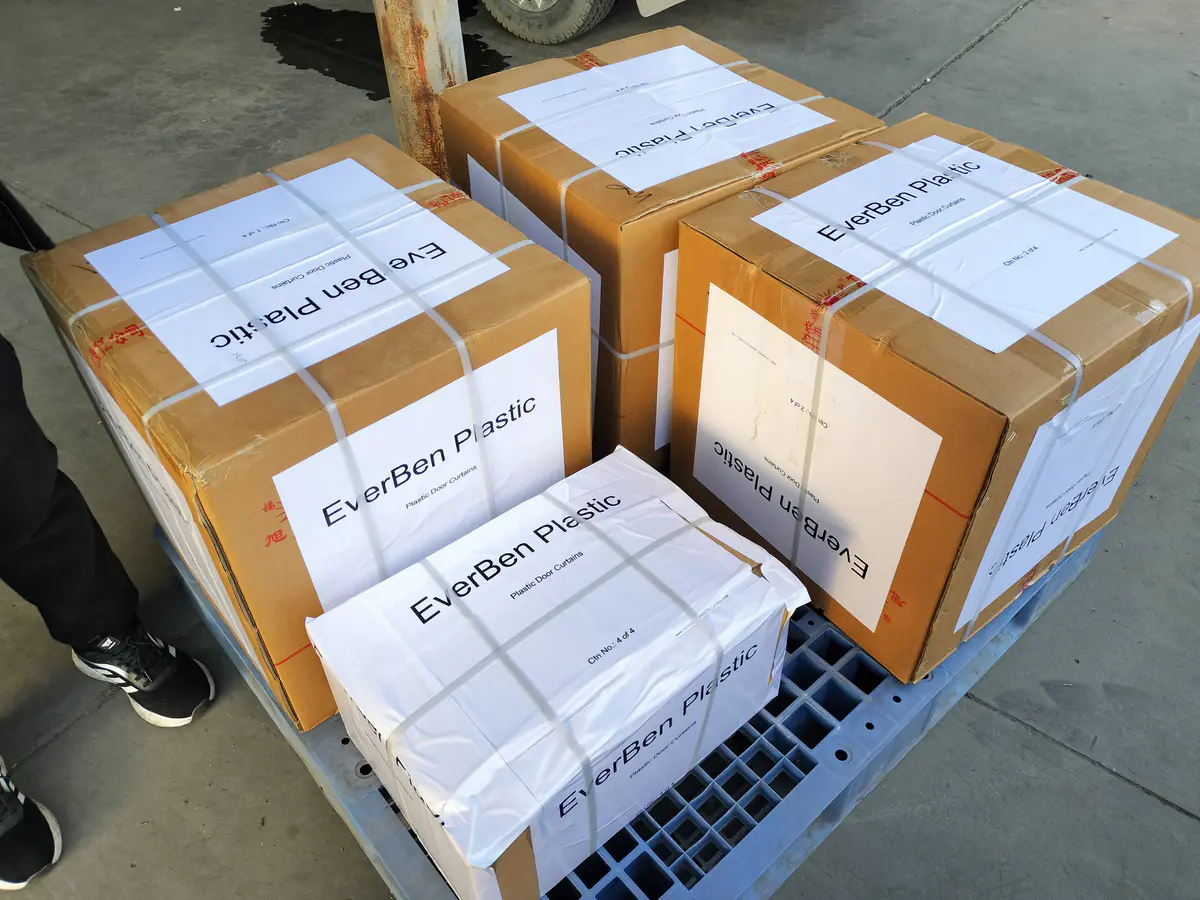
Ask how panels are coiled or laid flat, protected, labeled, stored and prepared after opening. Compare carton allocation, separator handling and the observation time required before installation without treating one pack trial as a service-life promise.
09 · BID NORMALIZATION
Normalize Supplier Bids by Requirements, Deviations and Evidence Gates
Supplier totals become comparable only after architecture, geometry, kit scope, responsibilities and evidence are aligned. Use blank or fictional examples when training the comparison method; project values belong in the controlled RFQ.
01
Compare one requirements column
Issue the same opening revision, condition matrix, traffic cases, architecture and supply boundary. Keep every mandatory field in one buyer-controlled column so offered values can be checked without rewriting the requirement for each supplier.
02
Separate proposals from explicit deviations
Require suppliers to state offered material, geometry, edge construction, hardware and evidence beside each requirement. Put alternatives, exclusions and unresolved questions in dedicated columns rather than burying them in narrative notes.
03
Price installation and evidence work visibly
List survey, drawing, samples, trial-hang, anchors, installation, acceptance support, spares and packing separately. This prevents a quote that excludes essential interface work from appearing cheaper than a complete proposal.
04
Score continuity and change control
Compare sample identifiers, drawing revision control, lot linkage, retained references, spare-part coding and change-notice commitment. These controls support repeat-order decisions without claiming a guaranteed lifespan or universal performance.
Evidence boundary for this page
For this doorway, connect the opening and mounting survey, panel and magnetic-edge construction, center-gap observation, traffic trial, installation record, cleaning route and replacement component to one represented configuration. This educational guide does not certify a product or supplier and does not replace the buyer’s workplace risk assessment. ISO and branded examples provide terminology and scope questions only; they do not establish an EverBen product result.
Buyer FAQ
Diagnostic Questions for Magnetic Doorway Comparison
Why can a center gap remain even when two panels appear to be the same size?
Check the reference planes, rail level, panel starting positions, finished dimensions, carrier attachment, twist and threshold before changing magnetic elements. A visual size match does not prove full-height alignment.
Does using stronger magnets always improve a doorway?
No universal answer follows from magnet strength alone. Opening effort, user case, carrier construction, alignment, panel movement and site conditions should be evaluated together on the represented assembly.
Which site photographs help diagnose header, jamb, threshold or airflow problems?
Use full opening views from both sides plus close views of the header, rail, jambs, threshold, floor, nearby doors, air outlets and symptom locations. Pair photographs with dated measurements and conditions.
How can pressure difference or outdoor wind change closure observations?
Air movement may interact with panel position, geometry and return. Record direction, timing and nearby door state during the observation, then request an applicable site trial instead of assuming a universal resistance rating.
What failure signatures suggest material, geometry, edge-carrier or installation causes?
Location and timing matter. Full-panel skew, localized carrier separation, floor drag, condition-dependent gaps and post-cleaning haze should be recorded separately, then checked against the approved material, drawing and installation file.
When should a buyer stop considering a flexible magnetic doorway?
Leave this route when the required function is a certified barrier, guarding system, powered cycle or another duty that the available construction and evidence cannot support. Document the decision and evaluate a suitable architecture.
How should spare-part and service comparisons be normalized?
Compare part identifiers, installed revision, cleaning access, inspection tasks, replacement labor, pack recovery and unpriced site responsibilities. Do not compare only the price of a generic panel or edge.
What must be witnessed during installation acceptance?
Witness the installed drawing revision, part reconciliation, rail and panel position, center relationship, bottom condition, declared passage cases, observations, departures and final decision owner.
Controlled next step
Turn the Guide into a Doorway-Specific Supplier Comparison
Prepare the survey, architecture decision, evidence index, gap checklist, traffic trial, installation ownership and service file. Then send the unresolved items for focused review.